Plum trees need careful cuts. Poor timing or heavy pruning can leave wounds open to disease and stress the tree. We’ll start with a winter-first plan, add summer touch-ups when needed, and show you when a professional job is safer.
These steps work well for many home trees, but local weather and tree type still matter. In Northern Utah, a dry day and a light hand are your best allies.
Step 1: Choose the Right Time and Assess Your Plum Tree
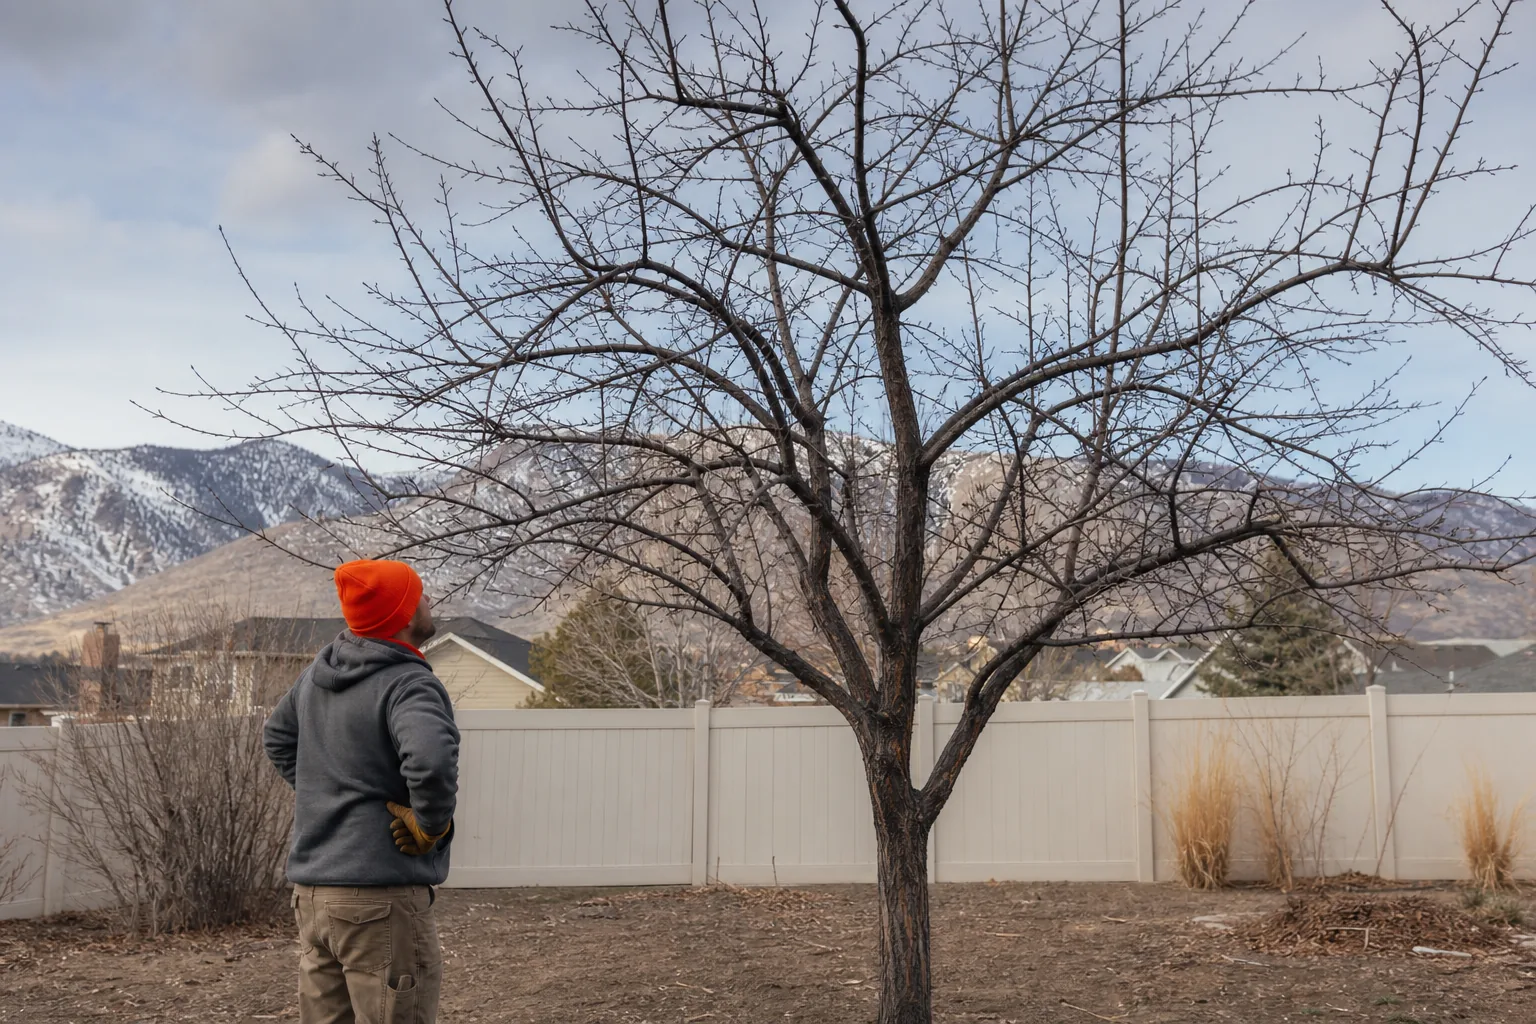
Learning how to prune plum trees starts with timing and a close look at the tree. Don’t pick up the saw first. Walk around the tree and decide what needs to come off.
For many Northern Utah plum trees, late winter or early spring is a useful window before buds open. The bare canopy makes weak, dead, and crossing limbs easier to spot. However, plum timing varies by species, climate, and disease pressure.
European, Japanese, and American plums grow differently in Utah. European plums tend to grow upright. Japanese plums often spread wider. American plums may grow as shrubs or small trees. For additional context, see general information about plums in the home garden.
Established trees may also need light summer pruning after fruiting. Use this window to shorten overly tall shoots or remove fresh growth that blocks the fruit. Work only during dry weather. Avoid pruning during bloom, petal fall, prolonged rain, or high humidity.
Before you cut, check these points:
- Is the tree young, mature, stressed, or neglected?
- Are any limbs dead, cracked, diseased, or rubbing?
- Does the tree lean toward a house, fence, walkway, or power line?
- Is the canopy already sparse from drought, pests, or winter injury?
- Can you reach every cut while standing safely on the ground?
Plan to remove no more than 20% of the canopy in one session. If the tree needs more work, spread the job across two or more seasons. A mature or stressed plum tree has less room for error.
For a broader Utah timing guide, our page on the best months for trimming trees in Utah can help you compare seasonal work across your landscape.
Step 2: Gather Tools and Plan Each Pruning Cut
Good plum tree pruning depends on clean tools and a clear cut plan. Match the tool to the branch instead of forcing one tool to do every job.
Use a tool suited to thin twigs. Choose loppers for small branches that are too thick for a thin-twig pruning tool. A pruning saw works for larger limbs. Skip a chainsaw unless you have proper training and the branch size truly requires one.
Sharp blades make smooth cuts. Dull blades crush bark and leave ragged edges. Before work starts, check for bent handles, loose bolts, damaged blades, or rust. Wipe away sap before it hardens.
Natural target cuts help preserve the branch bark ridge and branch collar. The branch bark ridge is the raised line on top of a branch union. The collar is the swollen area where the branch joins its parent limb or trunk.
Don’t cut flush against the trunk. Don’t leave a long stub. Both errors can slow wound closure and increase decay risk. Aim just outside the collar, following the natural angle of the branch union.
Use the three-cut method on heavy limbs
First, make a shallow undercut several inches away from the trunk. Next, cut from the top a little farther out to remove the limb’s weight. Finish with a natural target cut just outside the collar.
That order keeps falling wood from stripping bark down the trunk. It also lets you control the limb instead of letting its weight control your saw.
Step 3: Remove Dead, Diseased, Damaged, and Unwanted Growth
When you prune a plum tree, remove problems in a set order. Start with wood that can injure people or spread disease. Shape comes later.
Begin with dead branches. Dead wood often has dry, cracked bark and no living buds. Cut just outside the dead branch’s protective ridge. Don’t leave a stub, but don’t cut into the trunk or parent limb.
Next, remove broken limbs. If a branch broke under fruit weight or snow, follow it back to sound wood. A natural fork may give you the best place to stop. Jagged damage can collect water and decay.
Watch for signs of canker. Dark, sunken bark or amber gum can point to a disease problem. Canker can spread during wet weather and infect weak or wounded tissue; see this plum pest resource for more information. If you see a large affected limb, stop and get a diagnosis before removing more wood.
Silver leaf disease is another concern with plums. Leaves may take on a silvery look before branches die back. Don’t assume every pale leaf means silver leaf, though. Drought, root problems, and other pests can look similar.
After dead and damaged wood, remove branches that cross or rub. When two limbs compete for the same space, keep the stronger branch with the better attachment. Remove the weaker one at its origin.
- Remove suckers rising from the trunk base or rootstock.
- Remove water sprouts that shoot straight up through the canopy.
- Remove inward-growing shoots that crowd the tree’s center.
- Keep healthy fruiting wood when it has good light and a sound union.
Do not strip the interior bare. A tree needs leaves to make food. Remove one branch, then pause. If the canopy already looks open, stop there.
For homeowners who need ongoing care, our Northern Utah tree trimming and pruning service can handle work that involves height, heavy limbs, or unclear disease symptoms.
Step 4: Shape Young and Mature Plum Trees for Light and Airflow
Shaping is the part of plum tree pruning that sets future growth. Young trees need structure. Mature trees need restraint.
Shape a young tree
For a young plum, aim for three or four main scaffold limbs spaced around the trunk. Choose limbs with wide attachment angles. Remove competing shoots before they grow into large limbs.
Keep the center open if the tree’s form allows it. An open center helps light reach fruiting wood and makes harvest easier. Don’t force a perfect shape in one year. The best structure develops through small corrections.
During the first few years, remove weak branches and suckers. Keep cuts small whenever possible. Large cuts can trigger a flush of upright shoots that creates more work later.
Shape an established tree
Start by removing low, broken, dead, and diseased limbs. Then look for crowded areas. Keep branches that point outward and remove shoots that grow into the center.
Plums fruit on older spur wood as well as newer growth, depending on the type. Don’t cut every short spur because you think it looks unproductive. Look for healthy buds and leave sound fruiting wood in well-lit spots.
For long upright shoots, shorten them back to an outward-growing lateral when a reduction is needed. Avoid cutting every branch to the same height. That creates a blunt shape and can trigger dense regrowth.
Leave enough canopy to protect limbs from strong sun. Remove only the growth that blocks useful light, creates poor structure, or raises a clear safety concern.
Thin fruit after bloom
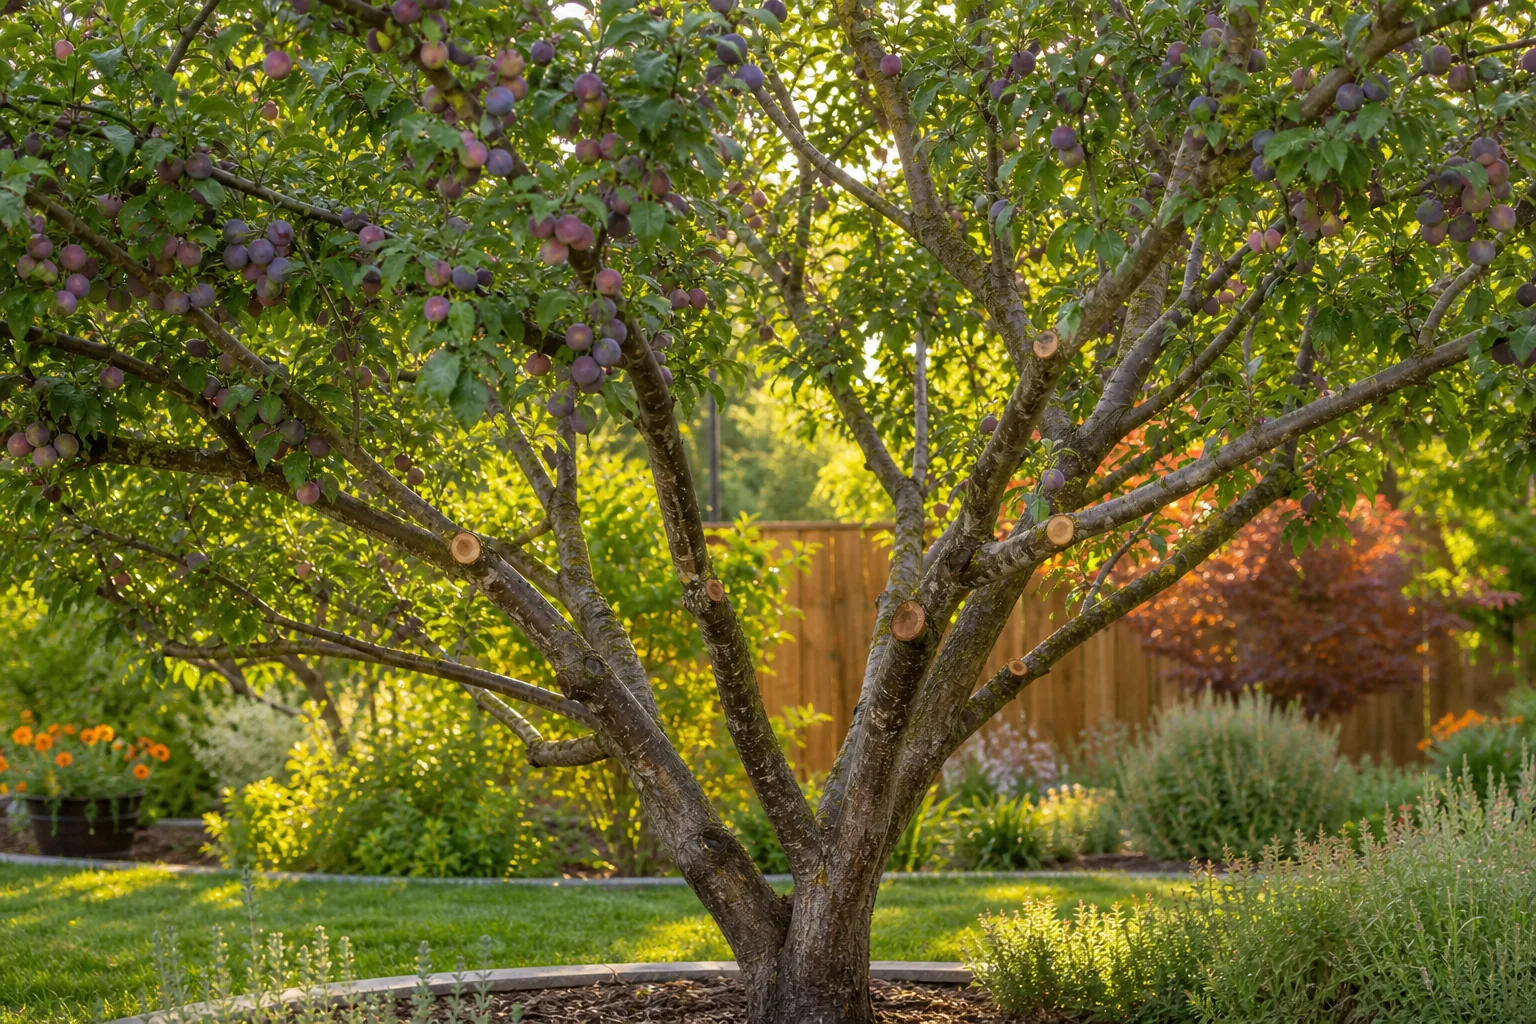
Heavy fruit loads can bend or break plum branches. Once the danger of frost has passed and fruit has set, thin excess fruit so the remaining plums have room to develop. A common home-garden target is about 4 to 6 inches between fruit on a branch.
That work is separate from major structural pruning. Keep it gentle. If a branch is already weak, reduce the load rather than cutting away sound fruiting wood.
Step 5: Finish Safely, Monitor Recovery, and Know When to Call a Professional
The last step in learning how to prune plum trees is knowing when to stop. A finished tree should look balanced, not hollowed out.
Gather the cut branches as you work. Diseased wood should not sit beneath the tree. Clean the area so no branch becomes a trip hazard, especially near walkways and play areas.
Inspect each cut. You should see a clean surface outside the branch collar. If bark tore during the work, don’t keep trimming just to make the wound look neat. Watch it instead.
Avoid applying products to pruning wounds unless a qualified tree professional gives you a specific reason to use one. In most home pruning cases, the tree’s own wound response is the better path.
Monitor the tree through the growing season. New shoots are normal, especially after a large cut. A sudden mass of upright shoots means the tree received more stress than it could easily absorb.
Look for warning signs such as:
- Rapid leaf wilt after pruning.
- New amber gum around cuts or branch unions.
- Dark, sunken bark that expands over time.
- Large limbs that crack, sag, or move in wind.
- New growth that dies back from the tips.
Know when DIY pruning should end
Call a professional when climbing is needed, the tree is taller than you can safely reach, or a limb could land on a structure. Never prune near power lines yourself.
Large cuts also deserve care. A professional may use climbing gear and other specialized equipment to lower branches instead of letting them drop. That matters when a plum tree stands beside a roof, fence, shed, driveway, or busy path.
All Wood’s Tree Service, Inc. helps homeowners, HOAs, property managers, and commercial clients across Northern Utah with trimming, removal, stump grinding, and emergency cleanup. We’re not just a tree service, we’re your long-term property care partner. Our team can also assess plant health concerns before a pruning job turns into a larger loss.
For routine care, our page on regular tree trimming and maintenance explains why inspection intervals depend on species, age, growth rate, and nearby structures.
Young trees may need yearly attention while they build structure. Mature plum trees often need lighter review every few years, with storm damage handled right away. If a tree is near a home or already shows decay, don’t wait for the next scheduled visit.
FAQ: Pruning Plum Trees
When is the best time to prune a plum tree?
The best time depends on the tree and local disease risk, but late winter, early spring, or mid-summer are common windows. For Northern Utah, choose a dry period and avoid bloom. Established plums may benefit from light summer cuts after fruiting, while young trees often need early-season shaping.
Can I prune a plum tree in summer?
Yes, light summer pruning can help control height and reduce crowded upright shoots. Work after fruiting and during dry weather. Don’t remove a large share of the canopy. Summer cuts are best for small corrections, not major renovation.
How much of a plum tree can I prune at once?
Keep canopy removal below 20% in one session. A weak, old, or drought-stressed tree may need even less. If the tree needs major work, spread the cuts over several seasons. Removing too much leaf area can reduce the tree’s ability to make and store food.
Should I seal pruning cuts on a plum tree?
Usually, no. Clean cuts made just outside the branch collar are normally the better choice. Sealants can trap moisture or interfere with the tree’s natural wound response. If a disease specialist or arborist recommends treatment for a specific case, follow that advice.
When should I hire a professional to prune a plum tree?
Hire a professional when the tree requires climbing, the limbs are large, or power lines and buildings are nearby. A professional can also help when you see cankers, decay, major cracks, or repeated dieback. All Wood’s Tree Service, Inc. provides free estimates and 24-hour emergency cleanup in Northern Utah.
For a small plum tree with reachable branches, prune slowly on a dry day and stop before the canopy loses more than 20%. For tall, damaged, or disease-affected trees, ask All Wood’s Tree Service, Inc. for a site assessment so the next cut protects both the tree and your property.