Pear trees need more than a single winter haircut. Good care starts with dormant-season structure, then shifts to light thinning and disease checks as the year moves on. We’ll show you how to prune pear trees in a safe order, with clear limits for DIY work and signs that it’s time to bring in All Wood’s Tree Service, Inc.
Step 1: Choose the Right Time and Inspect the Tree
Before you prune a pear tree, choose the season and study the whole tree. In Northern Utah, early spring is often the best window for major structural work, before buds swell and before storm season puts weak limbs to the test.
Late winter through early spring also makes the branch pattern easier to see. Leaves hide problems once the canopy fills out. Still, don’t treat the calendar as a hard rule. Utah has sharp changes in elevation, frost risk, and spring weather. A tree on a cold mountain bench may need a later start than one in a warm valley.
Walk around the tree before picking up your shears. Look for a leaning trunk, deep cracks, hollow spots, loose bark, and limbs that reach toward a roof or utility line. Check where branches join the trunk. Tight, narrow forks can hold water and split under load.
Next, decide what you want the cuts to do. A pear tree may need help with:
- Dead or broken wood.
- Branches that rub or cross.
- A crowded center that blocks light.
- Weak scaffold limbs that compete with the leader.
- Water sprouts that shoot straight up.
Keep the first pass light. If the tree is old, dry-stressed, or already weak, make fewer cuts and avoid removing large amounts of live growth at once.
For a seasonal schedule that covers Utah trees, to the best months for trimming trees in Utah. The same timing principle applies here: major cuts belong near dormancy, while hazardous wood may need removal at any time.
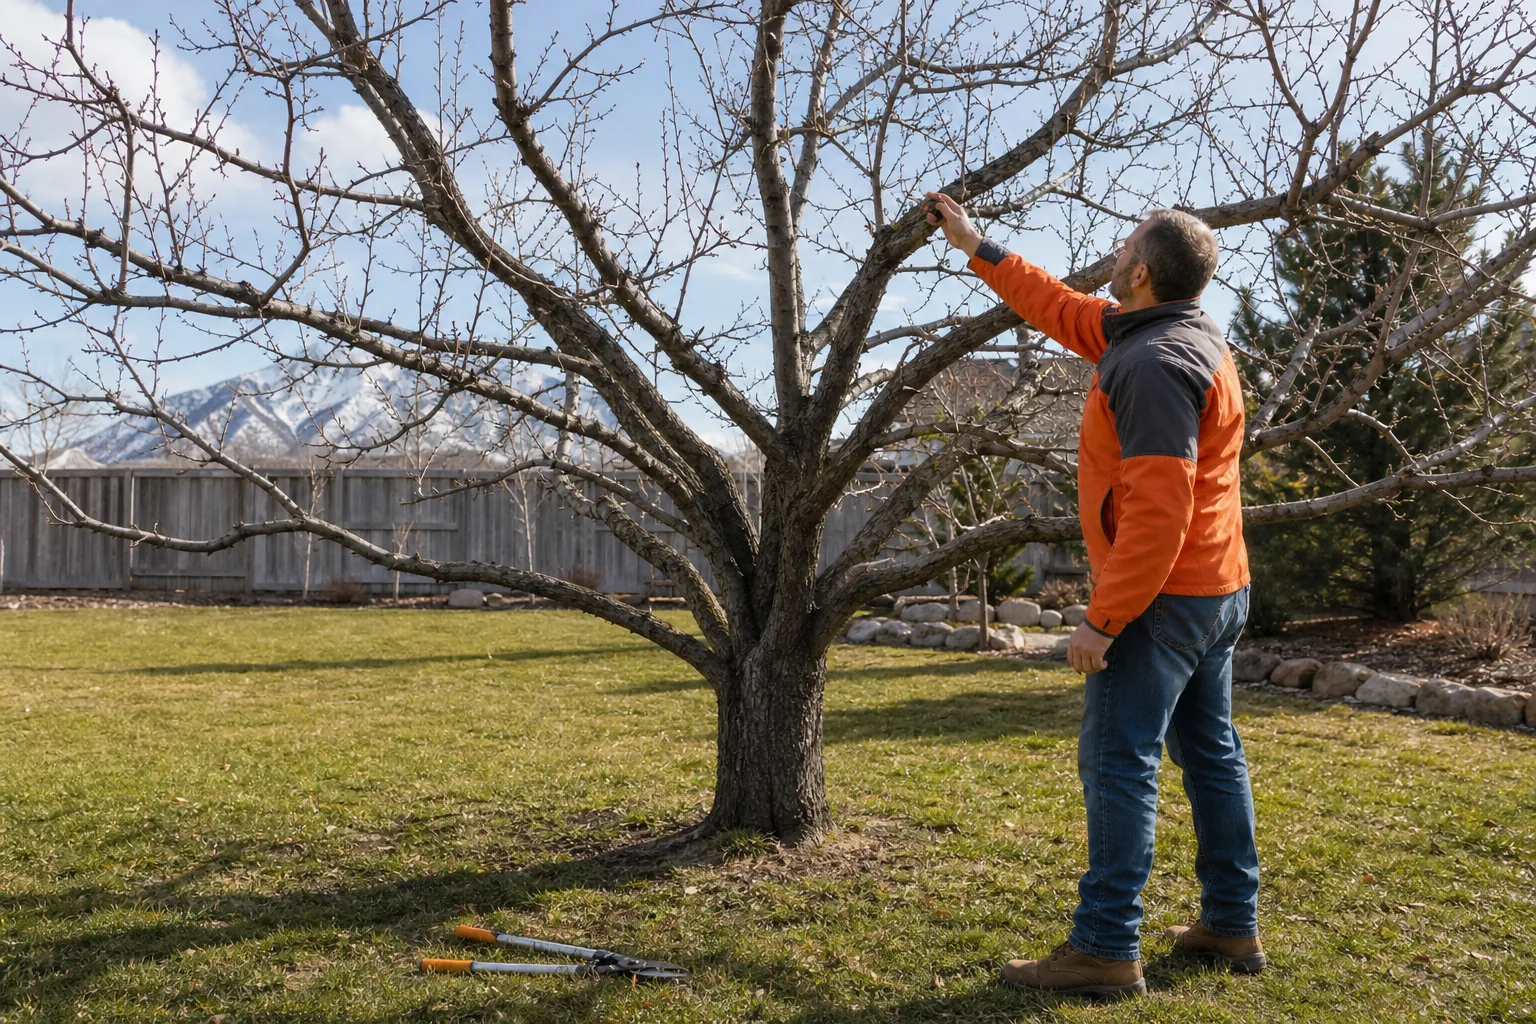
Stop here and hire help if the tree is taller than your house, sits near power lines, or needs climbing. A branch can swing as its weight changes. You may also misread a cracked limb until it starts to move.
Step 2: Gather Pruning Tools and Make Safe Cuts
Learning how to prune pear trees starts with the right tool for each branch. Sharp tools make smaller cuts. Small, clean cuts place less stress on the tree and give you better control.
For most small pear trees, set out hand pruners for thin twigs, loppers for branches your hand pruners can’t handle, and a pruning saw for larger limbs. Hand pruners work like scissors. Choose a tool suited to the branch size to help avoid crushing tissue.
Use appropriate safety gear. Gloves help with rough bark, but they don’t make a chainsaw safe. Keep both feet on the ground for hand-pruner work. Don’t hold a saw while on a ladder. That job needs proper climbing gear and training.
Before you cut, find two parts at the branch base: the branch bark ridge and the branch collar. The ridge is raised bark where the branch meets the trunk or a larger limb. The collar is the swollen area at the base.
Make a natural target cut just outside those areas. Leave the collar in place. Don’t leave a long stub, and don’t cut flush against the trunk. A flush cut removes the tree’s natural protection zone and can leave a larger wound.
For a heavy branch, use a three-cut method:
- Make an undercut one-third of the way through the branch, about one or two feet from the trunk.
- Make a top cut just beyond the undercut to drop most of the branch weight.
- Remove the remaining stub with a final cut outside the collar.
This method keeps falling wood from peeling bark down the trunk. It also lets you control the branch instead of fighting its weight.
Guidance explains why cut placement matters and why large branch removal belongs with a trained arborist. The guidance also notes that chainsaws are for large branch work, not routine hand pruning.
Clean your tools when disease is a concern. Wipe sap and debris from the blades between suspect cuts. A clean blade won’t fix every disease problem, but dirty tools can spread plant material from one cut to the next.
All Wood’s Tree Service, Inc. uses hand tools for small work and larger equipment when tree height or limb weight changes the risk. We provide free estimates, so you can get a site review before turning a pruning task into a removal problem.
Step 3: Remove Dead, Diseased, Damaged, and Crossing Branches
When you prune pear trees, remove problem wood before you shape healthy growth. This order clears the hazards first and helps you see the tree’s true form.
Start with dead branches. Scratch a small spot on a thin twig with your fingernail. Live tissue below the bark is green or moist. Dead wood is often dry and brown. On larger branches, look for a clear boundary between live bark and the dead section.
Cut dead branches just outside the living collar. Don’t leave a stub for insects to use. Don’t cut into the trunk tissue either. If a dead limb is large, use the three-cut method from Step 2.
Next, find broken limbs. A storm break may leave torn bark or a jagged end. Smooth the damaged edge with a proper cut at the branch collar. Don’t cover the wound. Trees close wounds through their own protective growth. Covering a wound can trap moisture when it cracks.
Disease needs more care. Watch for blackened shoots, sunken bark, loose sections, or wood that looks unlike the rest of the tree. Fire blight can kill pear shoots and limbs. If you suspect it, cut well into healthy-looking wood and keep the removed material away from healthy branches. Dispose of infected debris according to local guidance.
After dead and diseased wood, remove branches that cross or rub. Pick the weaker branch when two limbs compete for the same space. A rubbing point can wear through bark and leave an opening for pests or decay.
Work from the outside inward, but pause after each cut. Look at the canopy again. It’s easy to remove too much when you focus on one branch at a time.
Use this simple test for crowded limbs:
- If two branches occupy the same path, keep the one with the better attachment.
- If a branch points into the center, remove it only if it blocks a stronger branch.
- If a low branch interferes with mowing or walking, remove it over time.
Don’t strip every interior twig. Pears bear fruit on short spurs, often on wood that is a few years old. Removing every small branch can reduce future fruit instead of improving it.
By the end of this step, the tree should have less deadwood and less friction between limbs. It should still look full. That’s the point.
Step 4: Shape the Central Leader and Main Scaffold Branches
Structural pruning gives a pear tree one clear main leader and well-spaced scaffold branches. These cuts guide future growth instead of chasing every new shoot.
Find the central leader, which is the main upright stem. Then look for major limbs that leave the trunk at wide angles. Branches that sit roughly 60 to 75 degrees from the leader tend to grow with less force and can carry fruit better than steep, upright branches.
Young trees need a light hand. Keep the strongest leader. Remove a competing upright stem if it is nearly as large and rises beside the leader. If you shorten a leader, leave a healthy side branch to take over. That side branch should be large enough to support the change.
Don’t shorten every scaffold branch at its tip. That kind of heading cut often triggers a flush of upright shoots. Instead, remove a whole branch when it creates a clear structural problem. Make the cut at the outer edge of the collar.
Look at the tree from above if you can do so safely from the ground. Scaffold limbs should spread around the trunk rather than stack on one side. Keep the upper part narrower than the lower part. A wide top can shade the lower branches and reduce fruiting wood.
For young trees, temporary support can help hold the leader upright. You can also guide an overly upright side limb gradually. Never force a branch into place in one day. Give the wood time to adjust.
Guidance on training young apple and pear trees recommends minimal pruning that builds strong structure. It also warns against simply cutting off the end of a problem branch, since that can trigger vigorous upright regrowth.
On an older tree, remove one competing limb rather than shortening several limbs at once. A few well-placed thinning cuts usually work better than a hard reduction that leaves the canopy full of shoots.
If the leader, trunk, or main scaffold has a large crack, cavity, or weak fork, stop shaping. That is a safety assessment, not a routine pruning task. All Wood’s Tree Service, Inc. can inspect trees for homeowners, HOAs, and property managers when the risk extends above ground level.
Step 5: Thin Water Sprouts and Finish with a Follow-Up Check
The last stage in pruning pear trees is light thinning and a follow-up check. This is where seasonal care matters most. A pear tree may look balanced after spring work, then push a mass of upright shoots by summer.
Water sprouts are fast, upright shoots that rise from older limbs. Suckers grow from the base or roots. Both compete for light and energy. Summer is often the best time to remove small water sprouts because they are easy to rub or snap when they are only a few inches long.
Use your fingers for very small shoots if they come away cleanly. Use hand pruners for firmer growth. Cut larger shoots at their base without damaging the scaffold limb. Don’t remove every new shoot by reflex. Keep a few well-placed laterals if they help fill a bare area.
Summer pruning can also slow a tree that is growing too hard. It may help open the canopy without forcing a large dormant-season cut. But don’t perform heavy summer pruning on a drought-stressed tree. Water stress makes recovery harder.
Late summer is also a useful time to scout for disease wood. Remove fresh dead tips or clearly infected shoots as soon as you spot them. Don’t wait for the next winter visit when the problem may spread through more wood.
As you finish, stand back at least two tree lengths away. Check for:
- A visible central leader.
- Even spacing between main limbs.
- Open paths for light into the canopy.
- No branch touching a roof, fence, or utility line.
- No fresh cuts that are flush, torn, or too large for the tree.
Tree wounds close through compartmentalization, which means the tree limits damage rather than replacing the injured tissue. Smaller cuts generally close more readily, while wound dressings don’t speed closure or prevent infection.
Mark the date of your pruning visit. Recheck the tree after strong wind, late snow, or a hot dry spell. A small problem is easier to fix than a split scaffold limb over a patio.
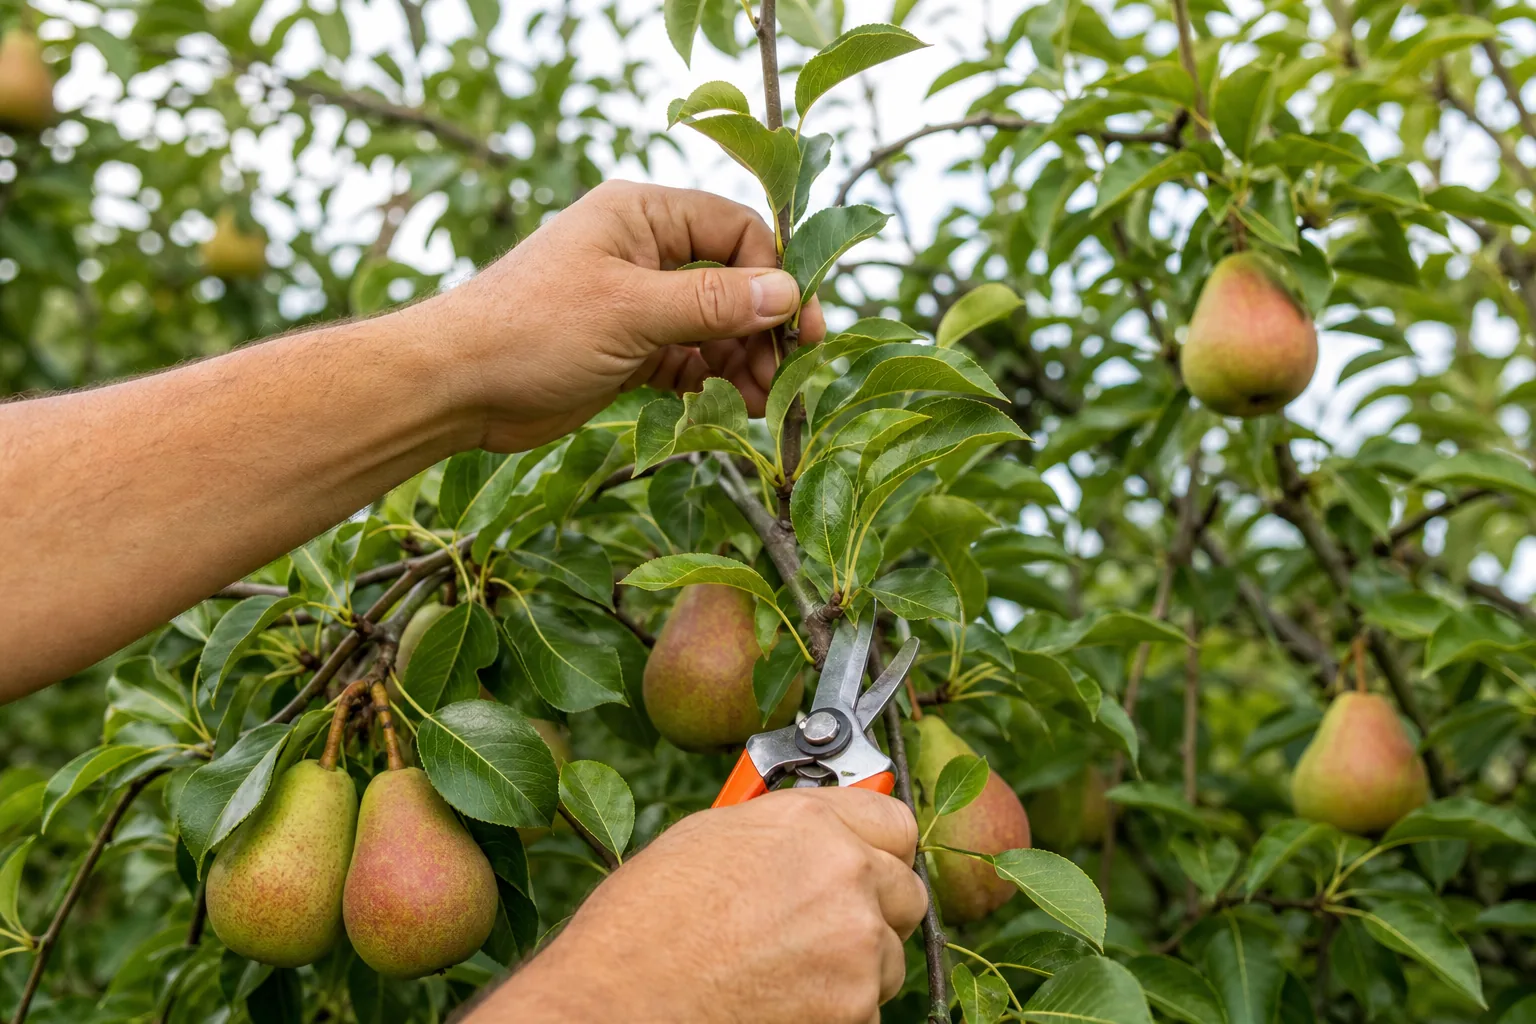
For a tall tree, storm damage, or a branch near a structure, professional care is the safer choice. Professional tree trimming and pruning can address these risks safely. All Wood’s Tree Service, Inc. provides tree trimming, plant health support, and 24-hour emergency cleanup across Northern Utah. We’re a long-term property care partner, not a crew that makes one cut and disappears.
FAQ
When is the best time to prune a pear tree?
The best time for major pear-tree pruning is usually late winter or early spring, before buds swell. In Northern Utah, local frost risk and elevation can shift that window. Remove dead, broken, or hazardous branches whenever needed. Save light water-sprout removal for summer when small shoots are easy to remove.
How much can I cut off a pear tree?
You should usually remove no more than about 20 to 25 percent of a pear tree’s leaf area in one year. Cut less if the tree is mature, stressed, or diseased. If major correction is needed, spread the work over two or more seasons instead of taking a large amount of wood at once.
Should pear trees be pruned in summer?
Yes, pear trees can receive light summer pruning. Summer is useful for removing small water sprouts and some disease-affected shoots. It can also slow overly strong growth. Avoid heavy cuts during hot, dry weather or when the tree shows wilt, leaf scorch, or other signs of stress.
How do I prune a pear tree that is too tall?
A pear tree that is too tall should be reduced over time, not topped in one harsh cut. Remove a large branch at a proper side branch or collar, then reassess the canopy. If climbing, rigging, or a chainsaw is needed, hire an ISA-certified arborist instead of attempting the work yourself.
Do I need to seal pear-tree pruning cuts?
No, you usually don’t need to seal pear-tree pruning cuts. A clean cut at the branch collar gives the tree its best chance to close the wound. Pruning coatings have not been shown to speed closure or stop infection, and cracked coating can hold moisture against the wood.
Conclusion
Prune your pear tree in stages: do structural work near dormancy, remove hazards first, then check water sprouts and disease wood in summer. If the tree is tall, damaged, or close to power lines, ask All Wood’s Tree Service, Inc. for a free estimate and a safe plan. Serving Northern Utah since 1995, we help protect both your trees and the property around them.