Summer shears can do more harm than good on a cherry tree. Fresh cuts made in hot or wet weather may leave sweet cherries open to disease. The safest plan is simple: prune during the right seasonal window, remove less wood than you think, and disinfect your tools between cuts.
We’ll show you how to prune cherry trees in five clear steps, with notes for sweet, sour, young, and mature trees.
Step 1: Choose the Right Time and Prepare Your Tools
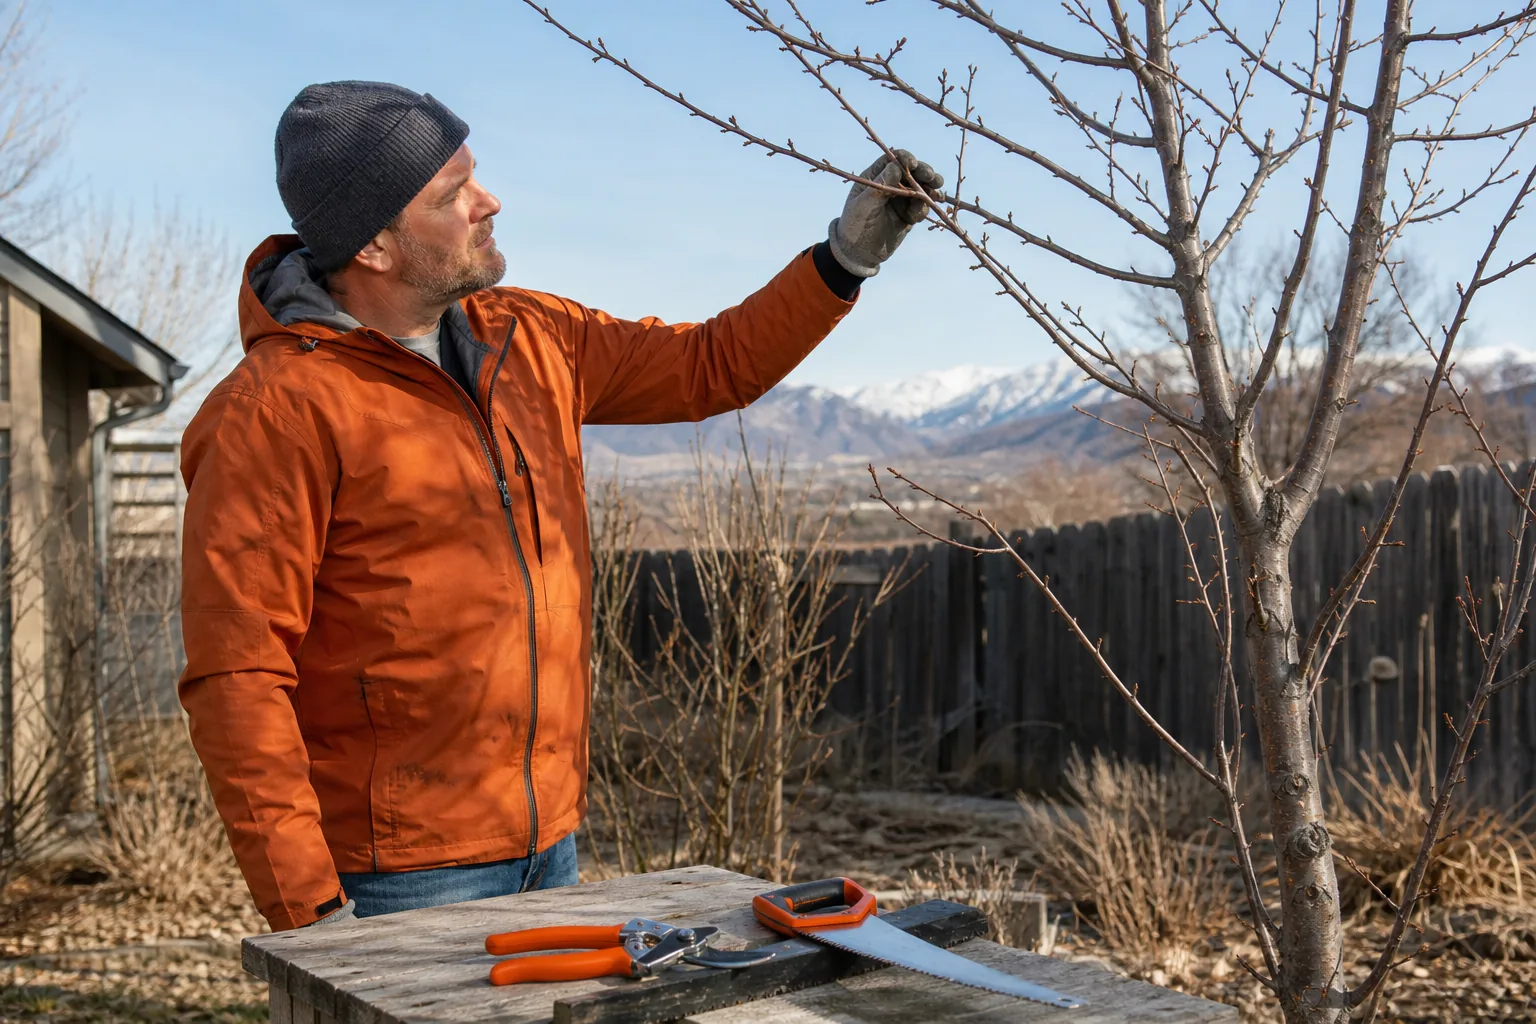
The first step in learning how to prune cherry trees is choosing a dry day near the right seasonal window.
For major structural work, late winter to early spring is usually safest, just before new growth starts and after the worst freezes have passed. This timing gives you a clear view of the branches. It also lowers the time that fresh cuts sit exposed.
Sweet and sour cherries need slightly different care. Sweet cherries are more prone to disease after cuts, so many growers save routine maintenance for late summer after harvest. Sour cherries handle late-winter pruning well. A light summer trim after harvest can also work for sour varieties.
Do not prune in fall. Cuts can heal slowly while fungal spores are active. In Northern Utah, watch the weather more than the calendar. Pick a dry day with no rain in the forecast.
Set out these tools before you begin:
- Small-branch cutting tools for small shoots.
- Loppers for medium branches.
- A clean pruning saw for larger limbs.
- Gloves and other protective equipment.
- Rubbing alcohol, or a one-part bleach to nine-parts water mix.
- Tool-cleaning materials and a small container for disinfectant.
Wipe the blades before the first cut. Then disinfect them between cuts, especially after removing diseased wood. Let the blades stay wet with disinfectant for about 30 seconds, then rinse and dry them if you used bleach. Clean tools lower the chance of moving disease from one branch to another. The basic purpose of pruning is to guide growth while keeping light and air moving through the canopy, a principle also described in the Wikipedia overview of plant pruning.
We recommend hand tools for low branches that you can reach while standing on the ground. If the job needs a ladder near a roof, power line, or large limb, stop there. Our Tree Trimming and Pruning Service in Northern Utah can assess the tree before a small cut becomes a safety problem.
By now you should have a dry work window, sharp tools, disinfectant, and a safe place to stand.
Step 2: Inspect the Tree and Identify What to Remove
Before you prune a cherry tree, walk around it and mark the branches that need to go.
Look at the whole tree first. Notice the trunk, graft union, main leader, scaffold branches, and branch collars. A branch collar is the slightly raised area where a branch joins a larger limb or trunk. Your cuts should protect that area.
Start with wood that is clearly dead, broken, cracked, or diseased. Dead wood often has no buds and feels dry or brittle. Diseased wood may show sunken bark, dark cankers, unusual oozing, or dieback. If you see a large canker or decay in the trunk, do not try to solve it with a quick trim.
Next, find branches that cross or rub. Remove the weaker branch when two limbs scrape each other. Then look for growth that points into the center. Those shoots crowd the canopy and block the light that should reach fruiting wood.
Remove suckers at the trunk base and watersprouts that shoot straight up from limbs. These fast shoots often add height without helping the tree carry fruit. Cut them at their origin. Do not leave short stubs.
Variety changes the plan. Sweet cherries tend to grow upright and often use a central leader. Sour cherries grow more openly and can suit a vase shape. Sweet cherries may fruit on older spurs, so do not remove every old branch just because it looks less vigorous.
Keep a conservative limit in mind. For a mature sweet cherry, remove no more than 25 percent of the living canopy in one season. Sour cherries may tolerate more, but heavy cuts still cause stress. A tree that needs major renewal should be improved over several years.
Take a photo before you cut. It gives you a record of the tree’s shape and helps you avoid making a second cut simply because the first one changed the view.
Step 3: Make the Correct Pruning Cuts
Correct cuts remove the target branch without injuring the trunk or leaving a long stub.
Use a thinning cut when you need to remove a whole shoot or branch. Follow it back to its point of origin. Cut just outside the branch collar, but do not cut into the collar itself.
Use a heading cut when you need to shorten a young shoot. Cut back to a healthy bud that points outward. The new growth will usually follow the direction of that bud, so an outward-facing bud helps keep the canopy open.
Make the cut at a slight angle. Keep it close enough to the bud that you do not leave a long stub, but far enough away that the bud does not dry out. Sharp blades matter. A crushed cut takes longer to close and can create a wider entry point for disease.
For a heavy limb, use the three-cut method:
- Make a shallow undercut several inches away from the final cut.
- Make a top cut farther out to remove most of the limb’s weight.
- Finish with one clean cut just outside the branch collar.
This method keeps the bark from tearing when the limb drops. Never let a large branch fall freely near a fence, roof, shed, or person.
Use thinning cuts more often than heading cuts on mature cherries. Shortening a healthy branch can trigger a burst of upright shoots. Those shoots crowd the center and may produce little fruit. A thinning cut gives the tree fewer new points to manage.
Keep your goal in view: an open canopy with enough branches left to support fruit. A useful visual test is dappled light through the tree. You should see open spaces, not a solid wall of twigs.
For a visual example of summer thinning and branch selection, use the pruning demonstration below. Watch the branch collar and the direction of each cut before you pick up your saw.
Clean the blade again after removing a diseased branch. A quick wipe is not enough when sap or plant tissue remains on the metal. The reference definition of a branch collar explains why this swelling matters during the final cut.
Do not paint the cuts. Wound sealants can hold moisture against the wood and slow the tree’s natural response. Clean timing and clean cuts are better protection.
By now you should have removed problem wood, opened crowded areas, and left smooth cuts at the right points.
Step 4: Shape Young and Mature Cherry Trees Without Over-Pruning
How to prune cherry trees changes as the tree moves from training to maintenance.
Young cherry trees
For the first few years, build a strong frame. Sweet cherries often suit a central leader, which means one main trunk stays dominant. Sour cherries can suit an open-center or vase shape with several main limbs spreading away from the middle.
Choose three or four strong scaffold branches with wide attachment angles. Avoid narrow V-shaped crotches. They can split when fruit or snow adds weight.
Space the main branches around the trunk rather than stacking them at one height. Remove competing leaders and shoots aimed at the trunk. If a young tree lacks good scaffold branches, wait for better growth instead of forcing a poor shape with severe cuts.
A newly planted whip may need heading only if it is tall enough and lacks side branches. Make that decision with the tree’s size and root condition in mind. Newly planted trees have fewer feeder roots, so harsh pruning can add stress.
Mature cherry trees
Mature trees need restraint. First remove dead, broken, and diseased wood. Then remove one crowded or unproductive branch at a time. Step back after each cut.
Sweet cherries often carry fruit on older spurs, so preserve healthy fruiting wood. Sour cherries can produce long, thin shoots that need more regular thinning to keep the center open.
If the canopy is badly crowded, spread renewal over two or three seasons. Never top the tree by cutting across major limbs to make it shorter. Topping removes useful fruiting wood and causes weak, fast regrowth.
Our Utah tree-trimming calendar can help you compare local weather windows with the tree’s growth stage. Still, the tree in front of you gets the final say. A late freeze, disease issue, or storm injury can change the plan.
Use this decision rule: if one more cut would remove healthy fruiting wood without improving light, air, or structure, put the saw down.
Step 5: Clean Up, Monitor for Problems, and Know When to Call a Professional
After pruning, clean the site and watch the tree for signs that it needs more help.
Gather every cut branch, dead fruit, and piece of diseased wood. Do not leave infected debris beneath the canopy. Clean your tools after the job, then dry them before storage. Keep mulch in a ring around the tree, not against the trunk, so moisture does not sit on the bark.
Check the cuts over the next few weeks. A small amount of sap can occur. Persistent gum flow, expanding dark areas, wilted leaves, or dieback deserve attention. Stop pruning if several cut sites begin to worsen.
Do not add fertilizer just because you made cuts. Water the tree well when soil is dry, especially as fruit begins to swell. Deep watering is better than repeated shallow sprinkling. Keep an eye out for pests and spotted fruit as the season moves on.
DIY pruning is reasonable when the branches are small and your feet stay on the ground. Choose a professional when:
- The tree is taller than your house.
- A branch hangs over a roof, driveway, fence, or play area.
- Power lines are nearby.
- The trunk shows decay, a deep crack, or a hollow area.
- You need climbing gear or other specialized equipment for work above the ground.
- A storm has left a limb under tension.
All Wood’s Tree Service, Inc. works with homeowners, HOAs, property managers, and commercial clients across Northern Utah. Our ISA-certified arborists can assess structure before recommending trimming, removal, plant health work, or injection treatments, which are targeted chemicals applied through the trunk to fight certain pests or diseases.
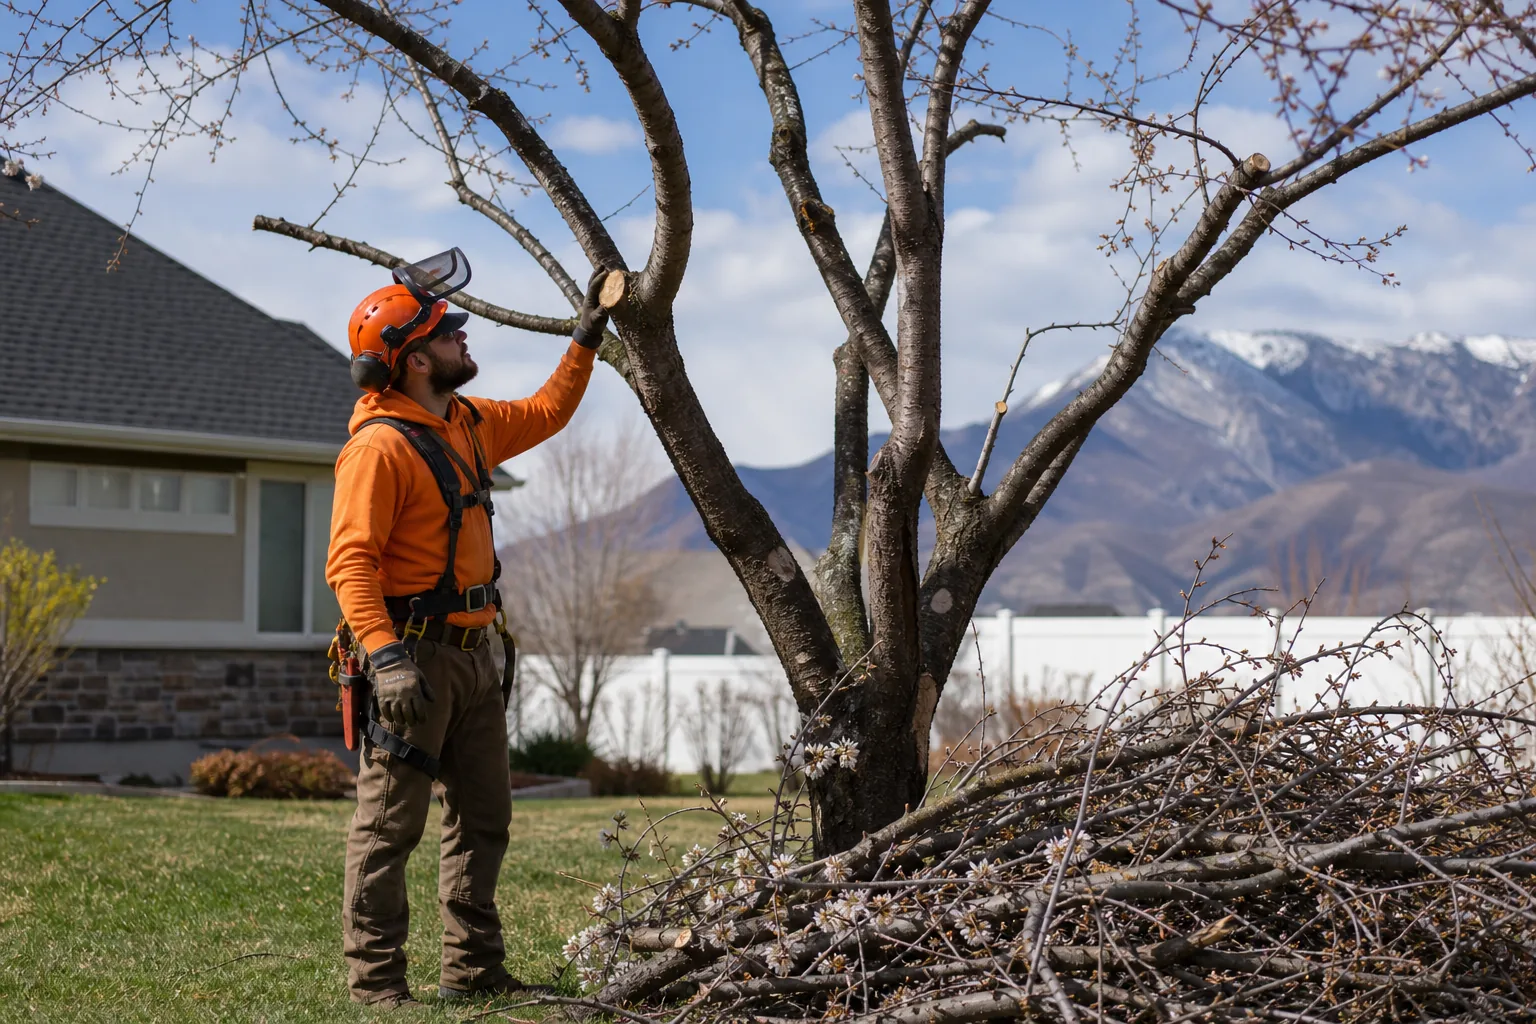
For a large or storm-prone cherry tree, professional equipment changes the risk. Crews may use climbing gear, man-lifts, or other specialized equipment instead of asking a homeowner to work from an unstable ladder. We also handle cleanup after the cut, with stump grinding available when removal is the safer choice.
The Utah DIY tree-cutting safety guide lists common warning signs that mean it is time to step back. We’re not just a tree service, we’re your long-term property care partner. We provide Free estimates and 24-hour emergency cleanup, serving Northern Utah since 1995.
Final check: the tree should have a clear structure, no loose debris below it, and no cut that you made only to chase a perfect shape.
FAQ
When is the best time to prune cherry trees?
The best time for major pruning is usually late winter to early spring, before buds swell and after severe cold has passed. Sour cherries handle this window well. Sweet cherries may be safer after harvest in late summer, especially where disease pressure is high. Always choose a dry day, and avoid fall pruning because cuts can heal slowly.
Can I prune a cherry tree in summer?
Yes, but summer pruning should stay light. Remove water sprouts or one clearly misplaced branch after harvest. Sour cherries often tolerate this better than sweet cherries. Avoid heavy cuts during hot weather because removing too much foliage can reduce the tree’s energy and expose fresh wounds to disease.
How much of a cherry tree can I prune at once?
Remove no more than 25 percent of a mature sweet cherry’s living canopy in one season. Sour cherries may tolerate up to 40 percent, but less is still safer for a stressed tree. If the tree needs major renewal, spread the work across several seasons instead of trying to fix the whole canopy at once.
Should I seal cherry tree pruning cuts?
No, we generally don’t recommend sealing normal pruning cuts. Paint and sealants can trap moisture and slow natural sealing. Make a clean cut just outside the branch collar, prune during a dry window, and keep tools disinfected. Large wounds, decay, or repeated gumming need an arborist’s assessment rather than a coat of paint.
When should I hire someone to prune a cherry tree?
Hire a professional when the tree is tall, near power lines, damaged by a storm, or too close to a building for a falling limb to be controlled. Large branches may need climbing gear or a man-lift. All Wood’s Tree Service, Inc. can inspect the tree and explain whether trimming, plant health care, or removal makes the most sense.
Conclusion
Prune your cherry tree conservatively during a dry, low-risk season. Start with dead and damaged wood, disinfect the blades between cuts, and stop before you remove too much healthy canopy. If the tree is tall, storm-damaged, or close to power lines, schedule a professional assessment with All Wood’s Tree Service, Inc. before you climb.